Presets Screens and Components
Presets are a set of designed screens and components offered as starting points and that include mock data sources (they will work immediately, and present gray placeholders, even if you don’t connect your own data source).
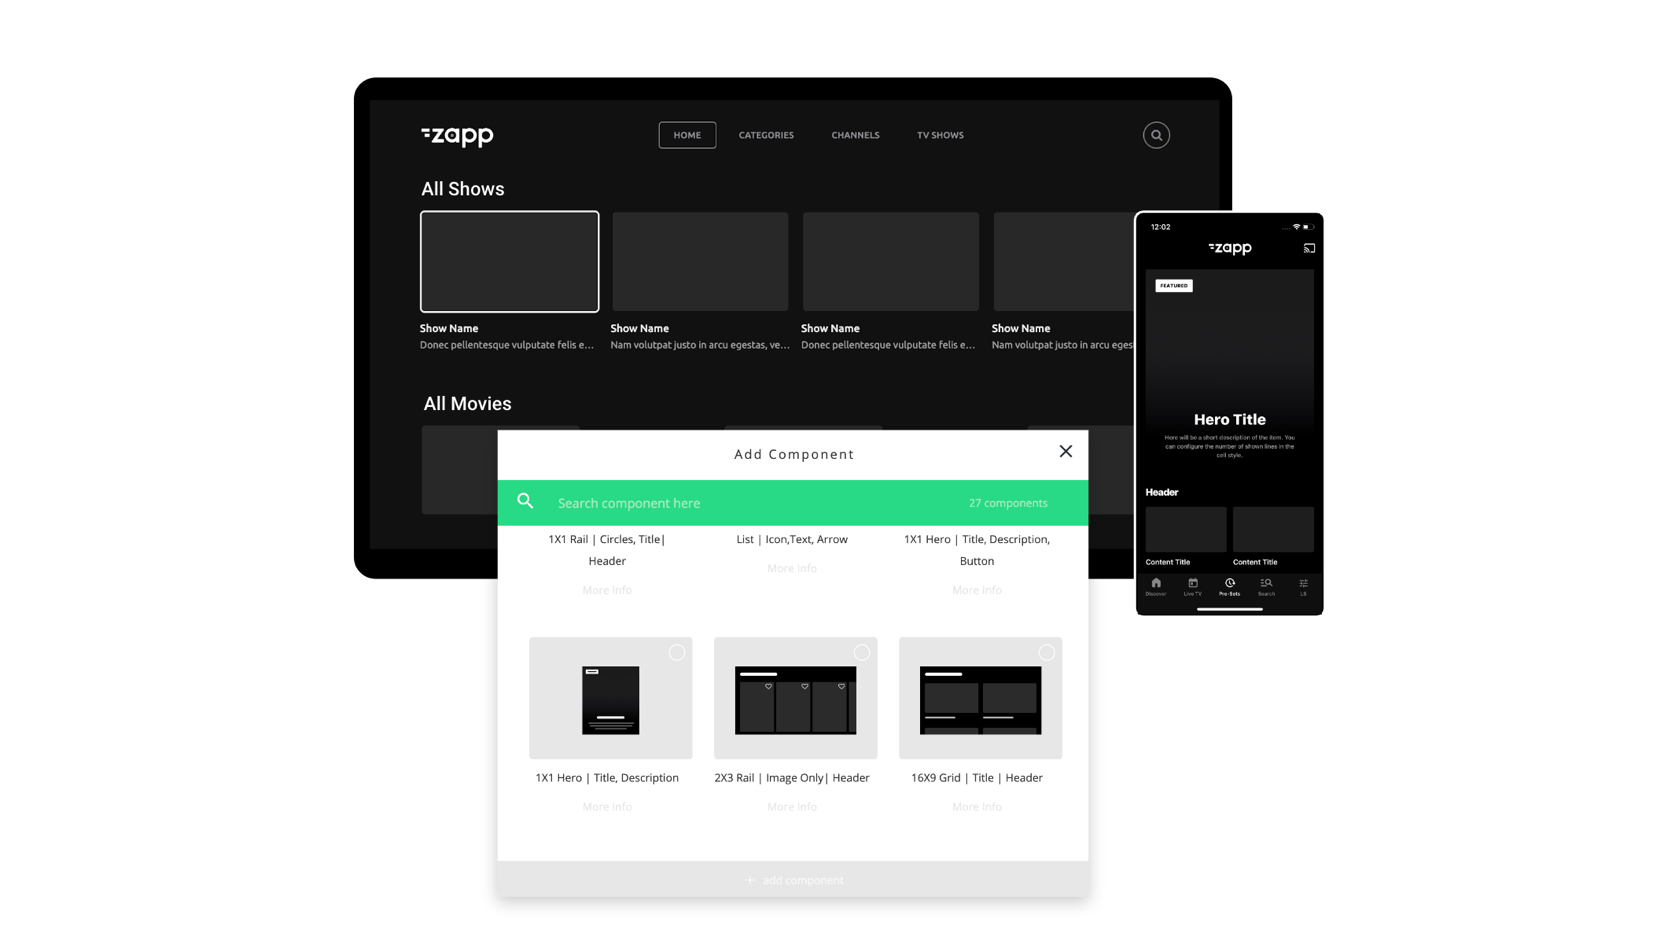
With Presets, you can easily start building layout by adding entire screens or separate components.
Mobile and TVs
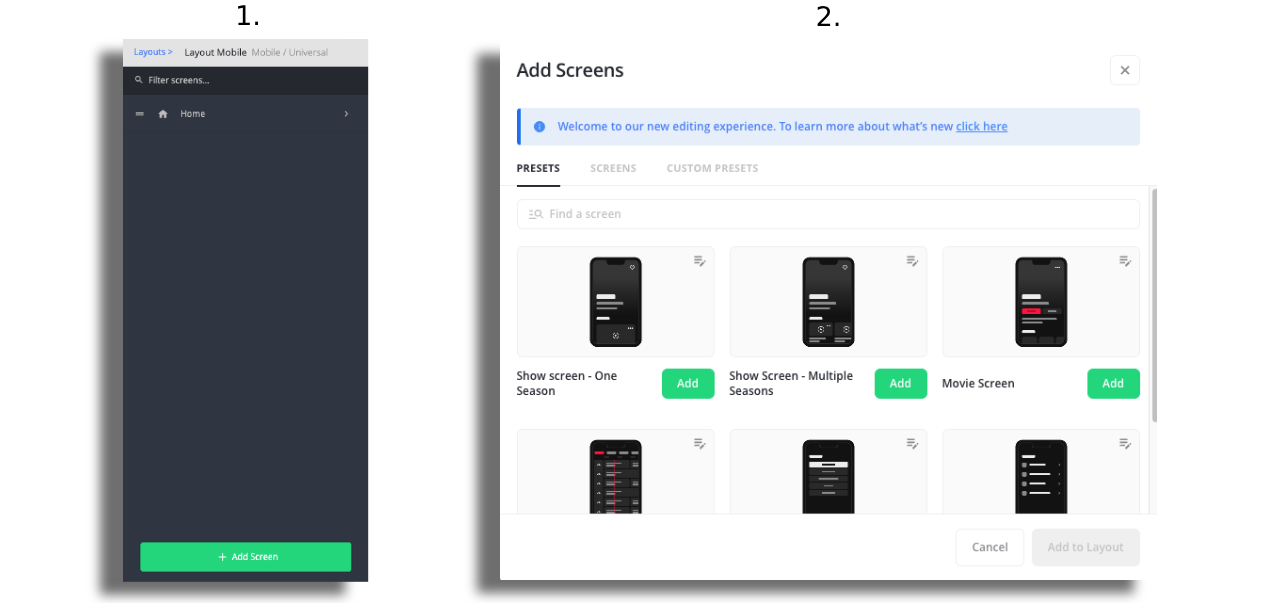
To add a preset screen, open the layout and add the relevant screen.
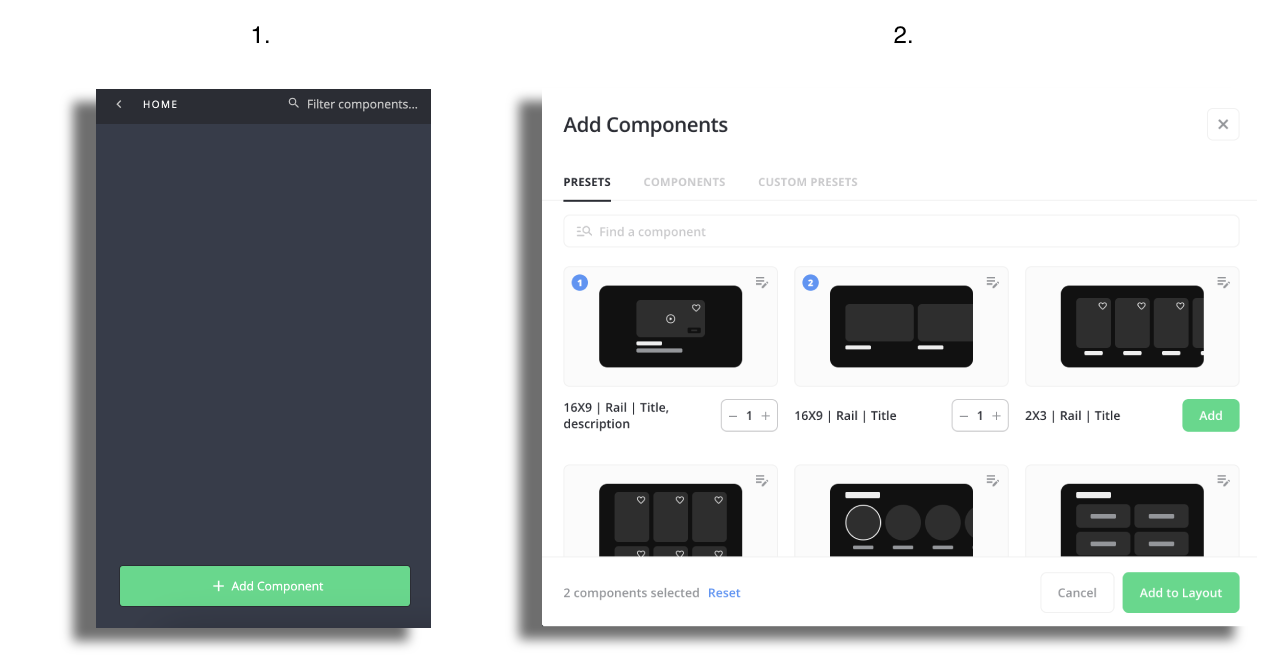
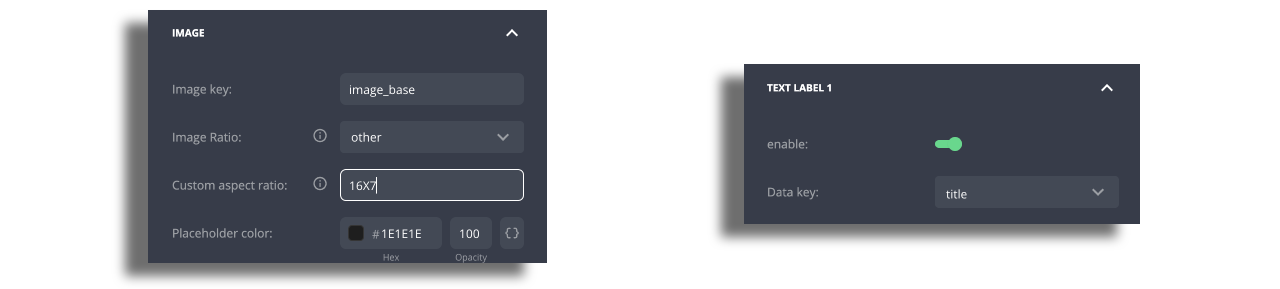
To add a preset component, open a screen and choose the relevant presets. There are presets for TV and Mobile, with various image ratios, text labels, and the option of having headers or not.
You can adjust the component cell style and change the mock feed to your custom data source.
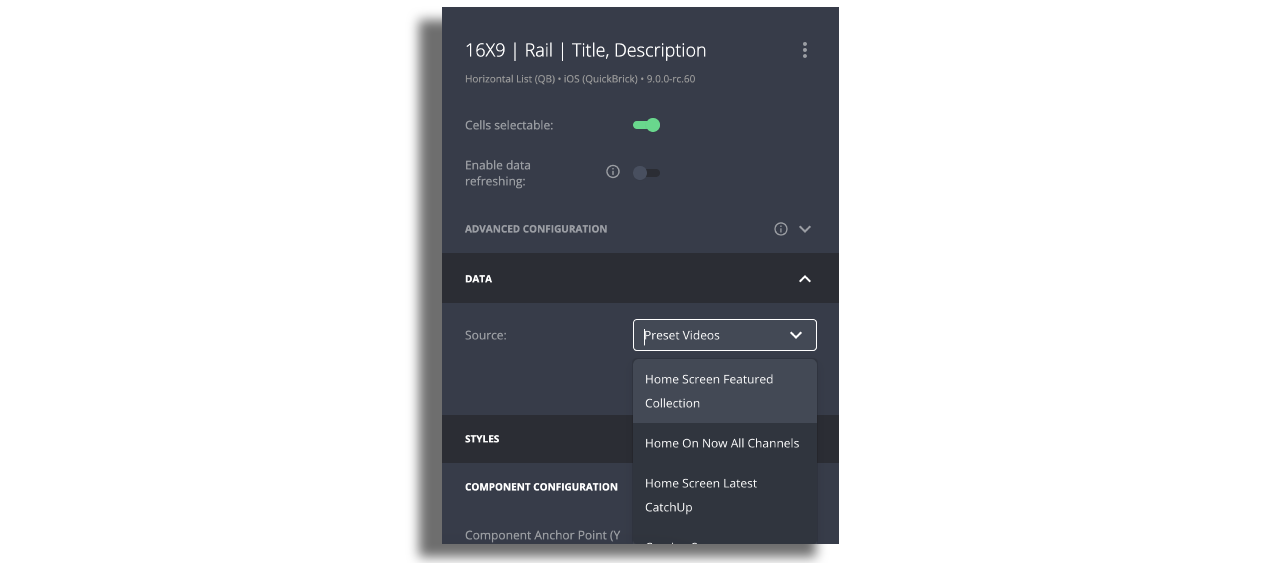
Make sure you use the same image keys and data keys as the mock data source. The presets data source uses the default standard keys. If you use other keys, you can easily change the keys on the cell style that is attached to the preset component.
Custom Presets for screens and components
Custom presets are presets that can be created based on your own design, brand and datasource to speed up the process of building the app. Presets are available for all components and screens and are cross shared between all app managers.
How does it work? For example, you want to create a show screen with seven seasons, and represent each season with a rail. Create a component with the desired cell style and mock data for this rail. Save it as a preset component, and you're all set! Now, with this preset, you can effortlessly create all the seasons at once, simply by adjusting the datasource accordingly. Same way you can save an entire screen as a preset.
In case you are using the component in a generic screen without data source make sure to create a preset without data source.
Creating preset components and screens
Create a component, attach a data source and design the cell as desired. This datasource is just a placeholder and when using the preset in the future you will need to replace it with the relevant datasource.
By using the context menu at the top-right corner create preset:

Modal to save your preset will appear where you can add title, thumbnail and description. Once done, hit the Save button. It’s advised to give a self-explanatory name for the presets!

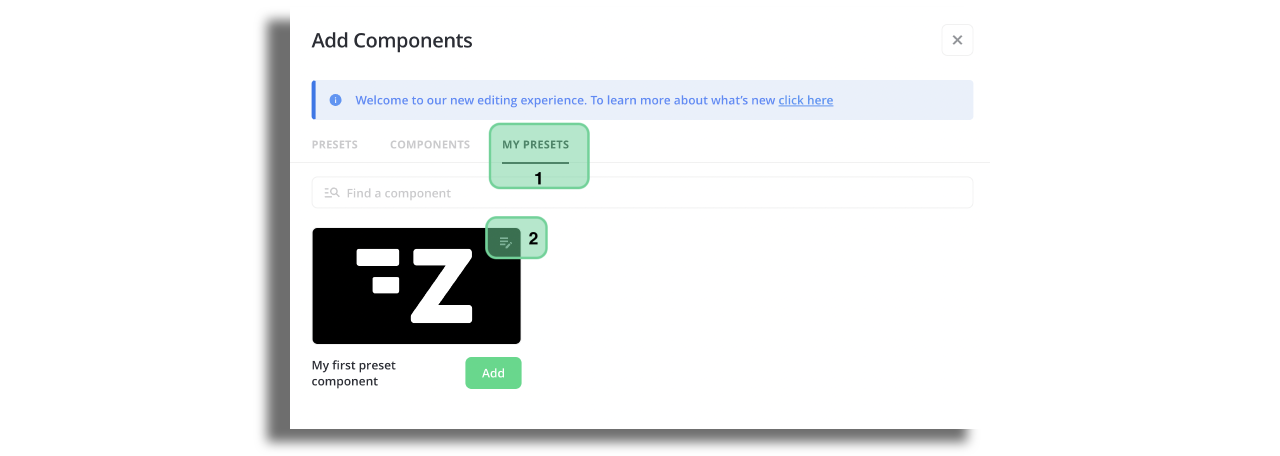
Now your preset component is saved and available in My Presets tab (1). You can edit the description and title or delete the preset by pressing the edit icon (2):
All of the components created from presets will use the same power cell, so it's possible to edit them at once by editing the powercell. This is useful if you need to change multiple components at once, because the presets themselves are not editable but the power cell is.